⏱️ Quickstart
This guide will walk you through creating and deploying a multiplayer game with Godot 4.2.
If you are using Godot 4.1/4.0/3.x, please be aware that some details may be different.
Step 0: Create a new Godot project
For this tutorial, start a new Godot project.
Step 1: Set up the Rivet Godot plugin
The Rivet Godot plugin is can be
installed from the Godot Asset Library, via gd-plug, or manually from the
GitHub repo.
Go to the Godot Asset Library, search for "Rivet", and install the plugin. Currently, you can only install the plugin from the Asset Library if you are using Godot 4.2.
Once the plugin is open, sign in to link your game to Rivet.
Next, follow the steps 1-3 in the "Setup" tab to setup a basic multiplayer game.
If you want to learn more about what these steps do, check out the Setup Walkthrough.
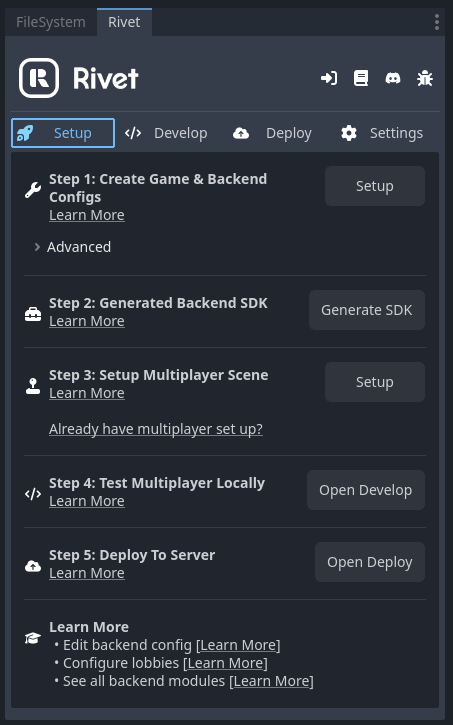
Step 2: Testing Locally
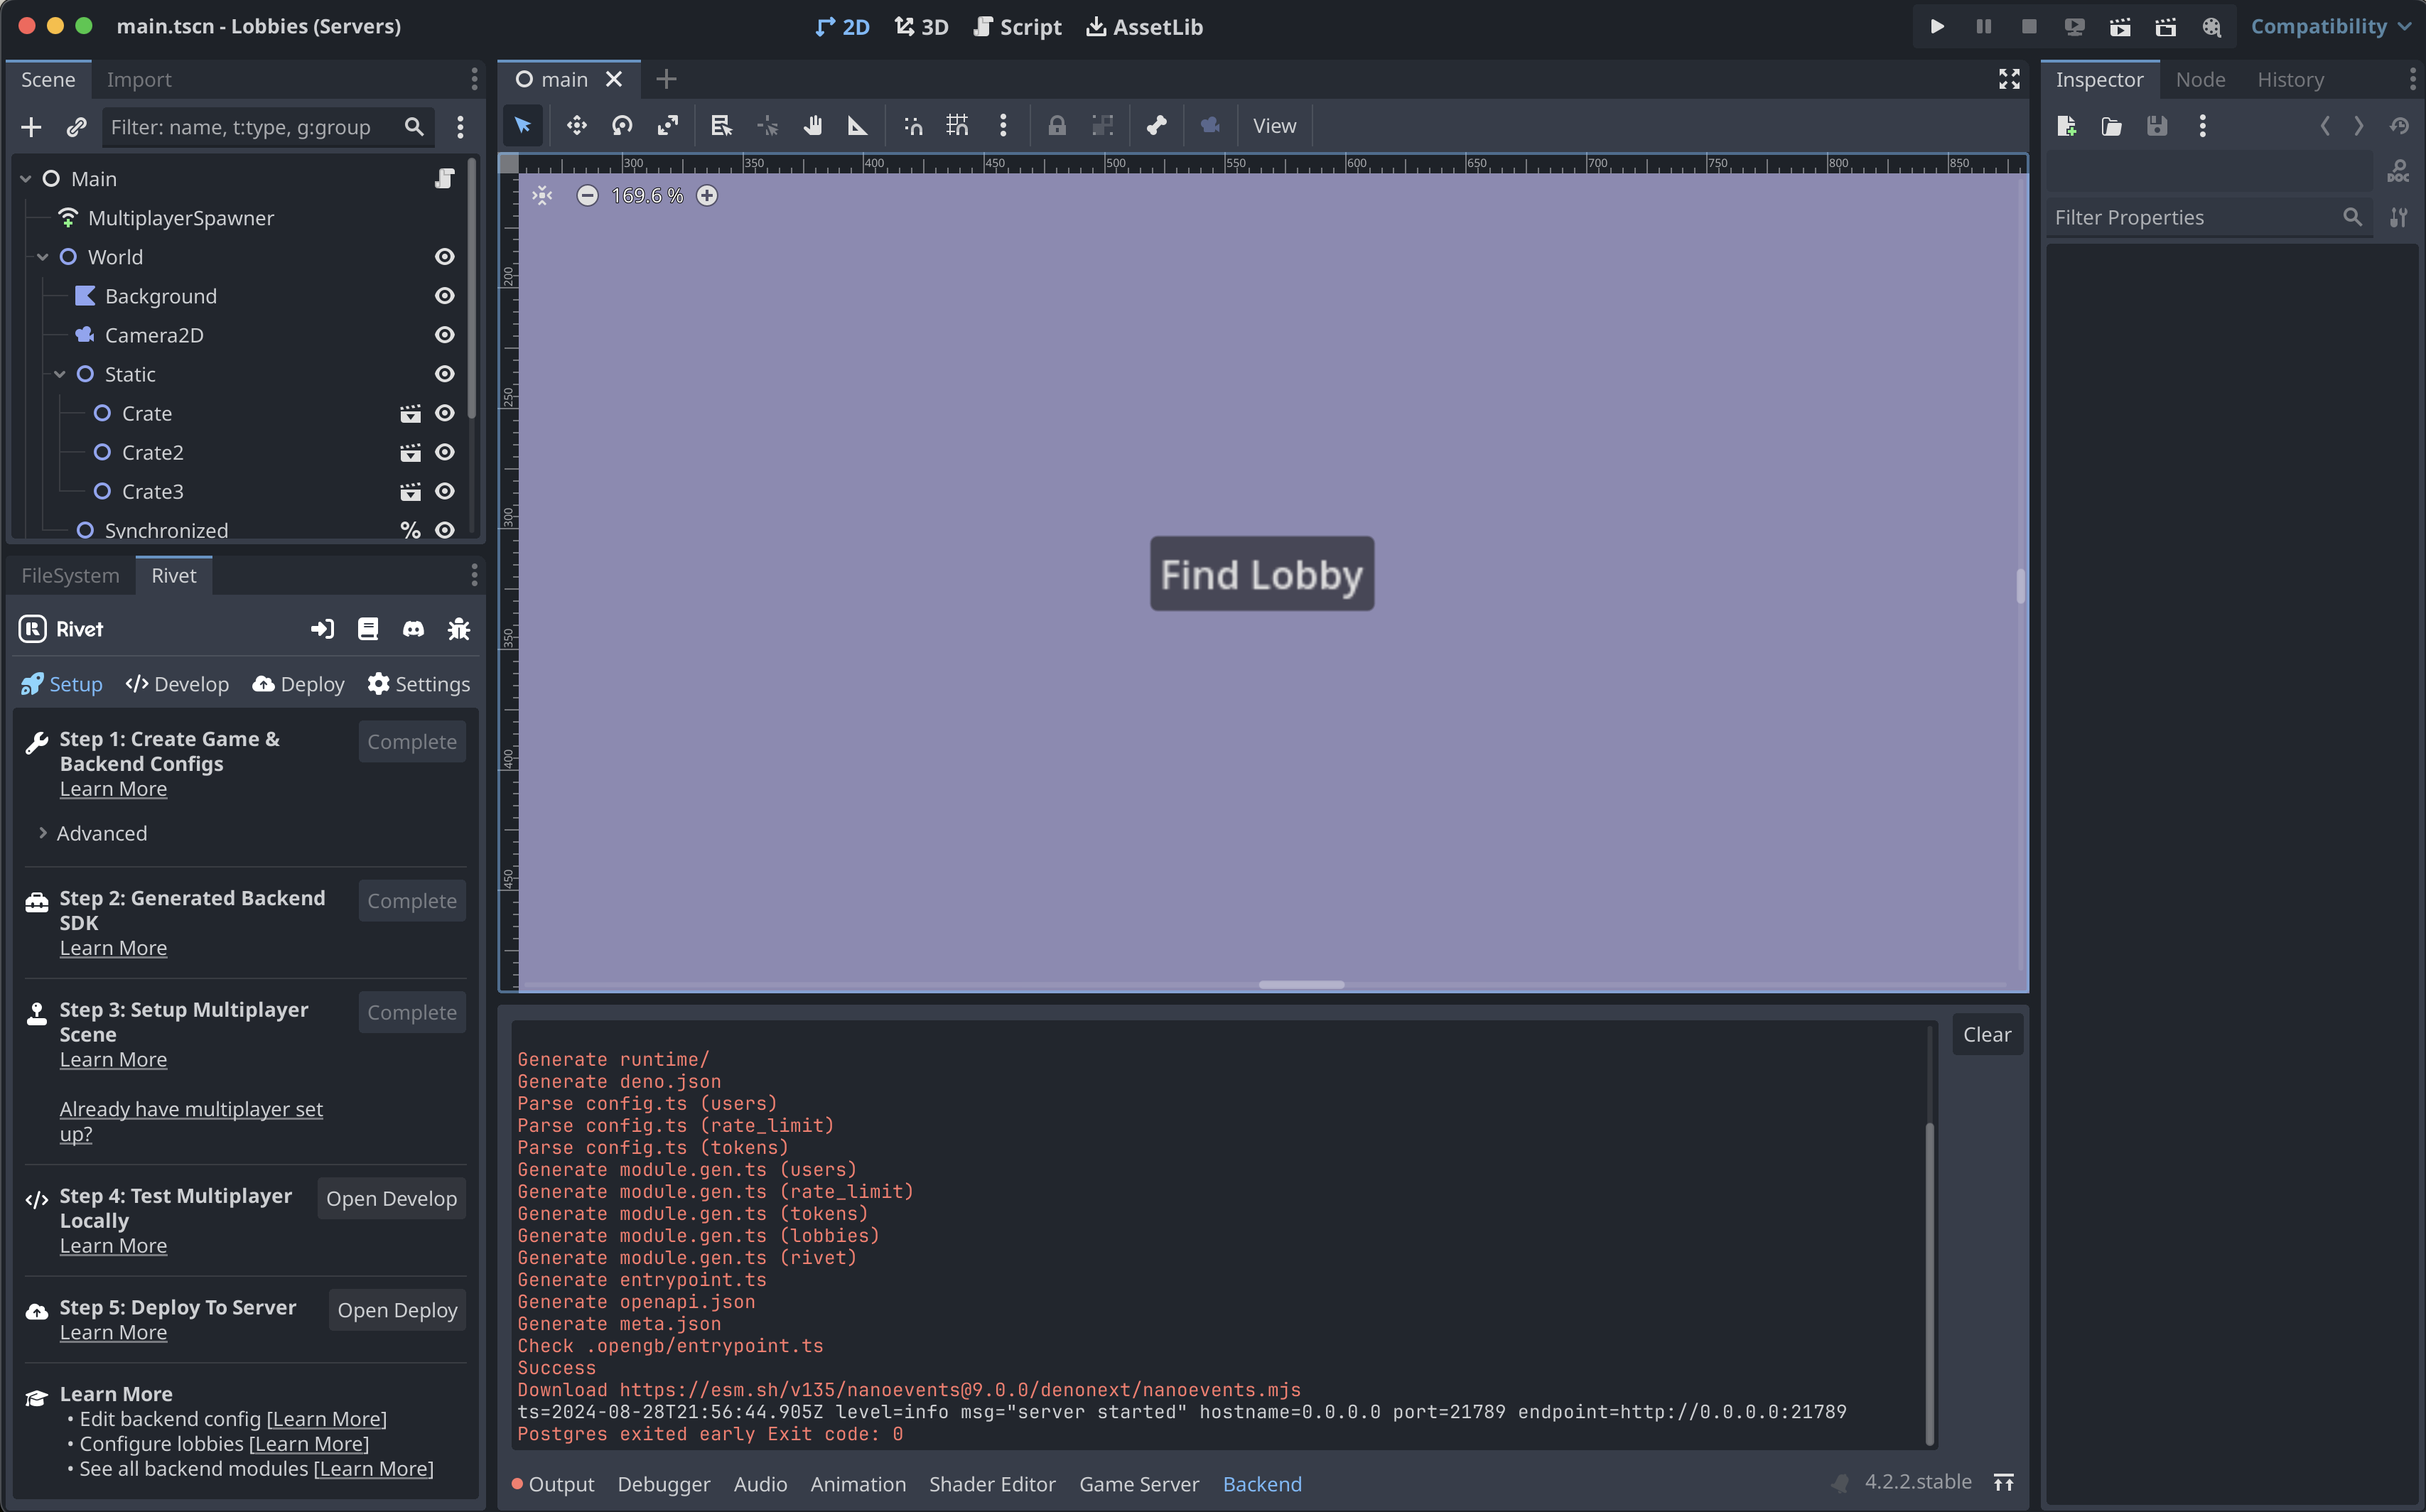
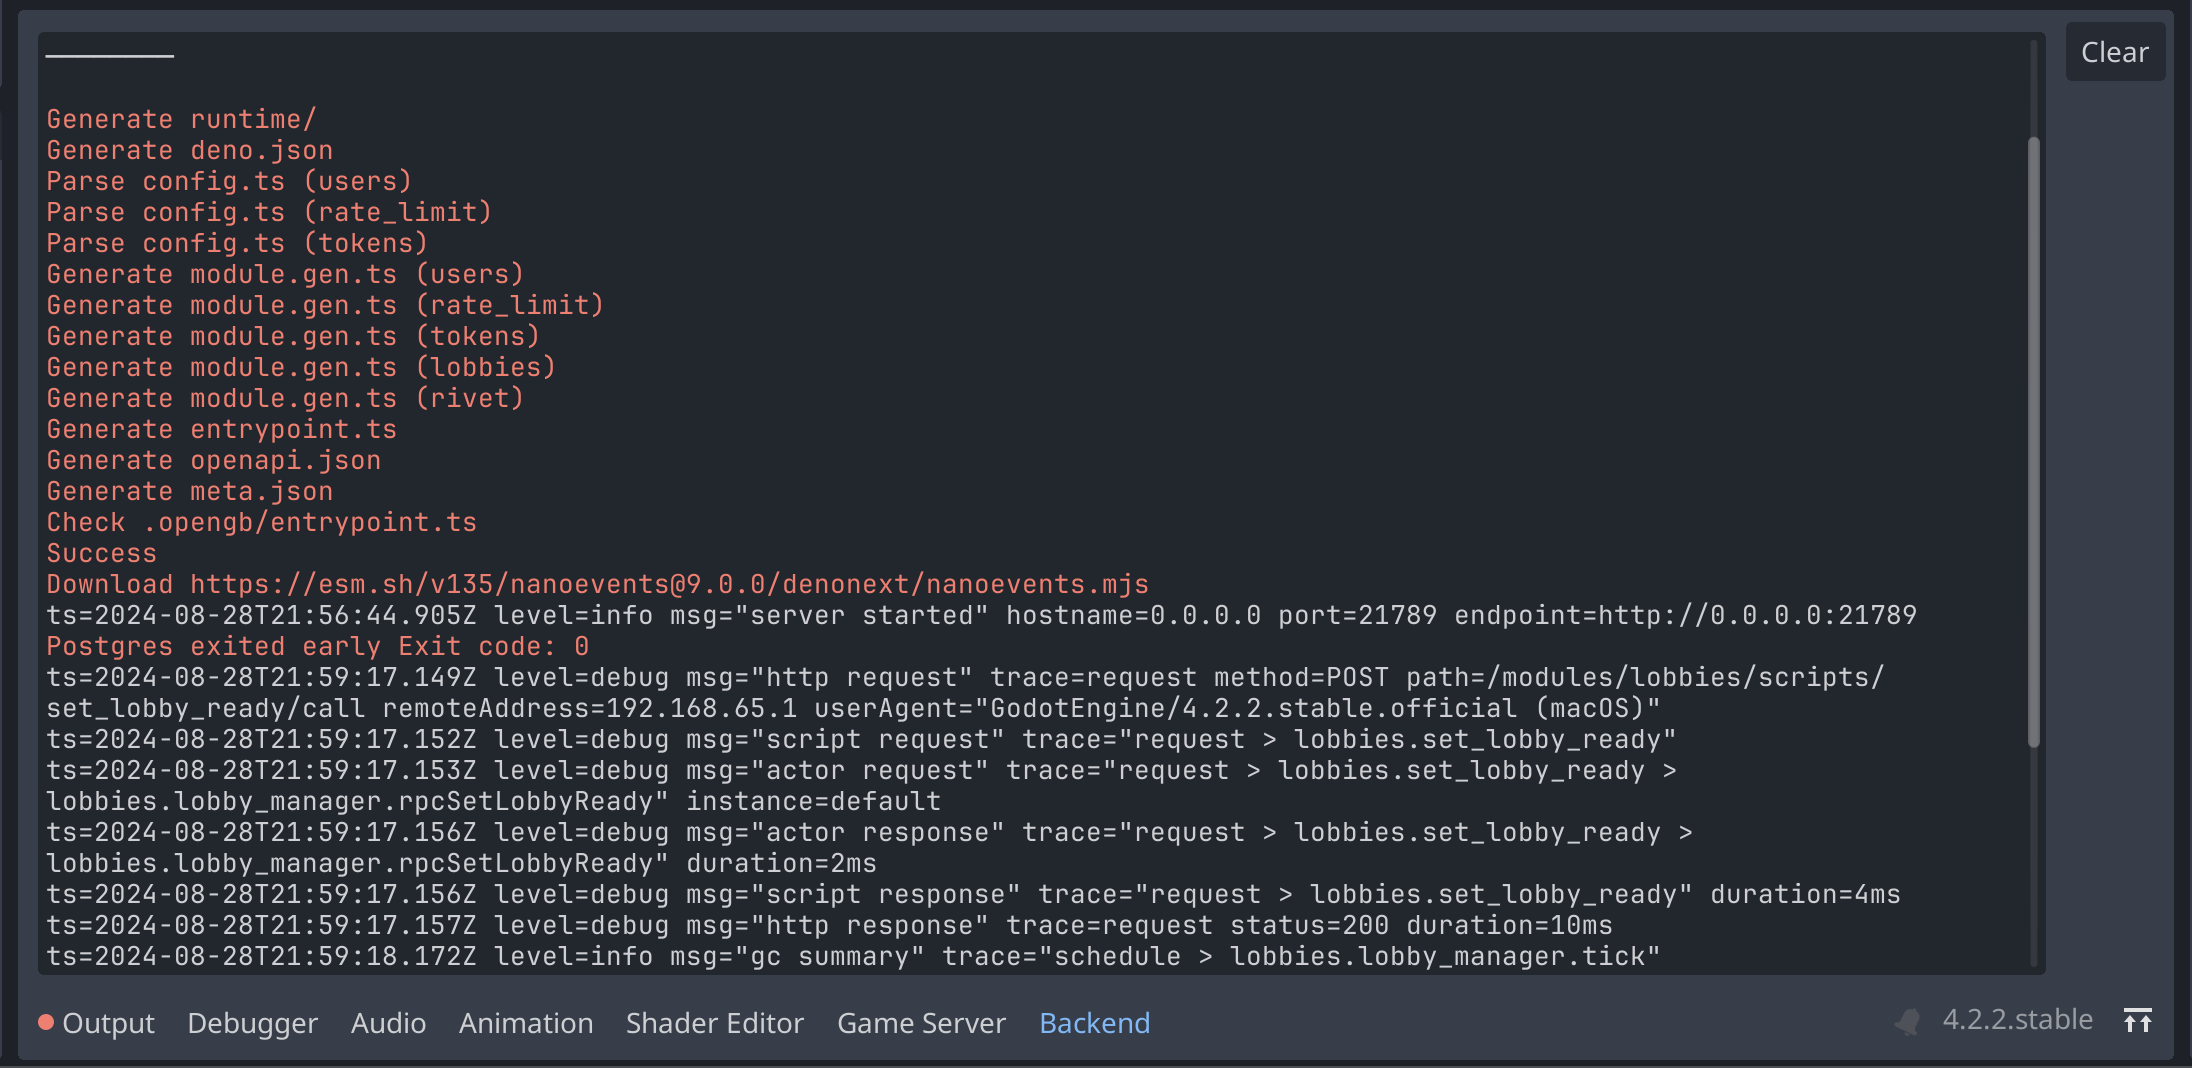
Now that we've done the 3 required setup steps, we can move on to testing locally. First, note that there are tabs that the Godot plugin added to the bottom of the Godot editor, where logs normally are. One is the "Backend" tab, which shows logs from the OpenGB backend.
The backend is running correctly once the line with level=info msg="server started" comes up.
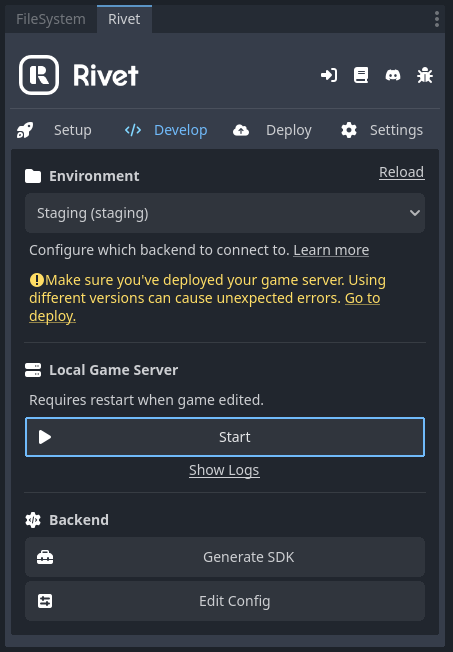
Going back to the setup panel, the next tab will bring you to the "Develop" tab. From here, first change the "Environment" to "Local" and then start a local Godot game server by clicking "Start" under the "Local Game Server" section.
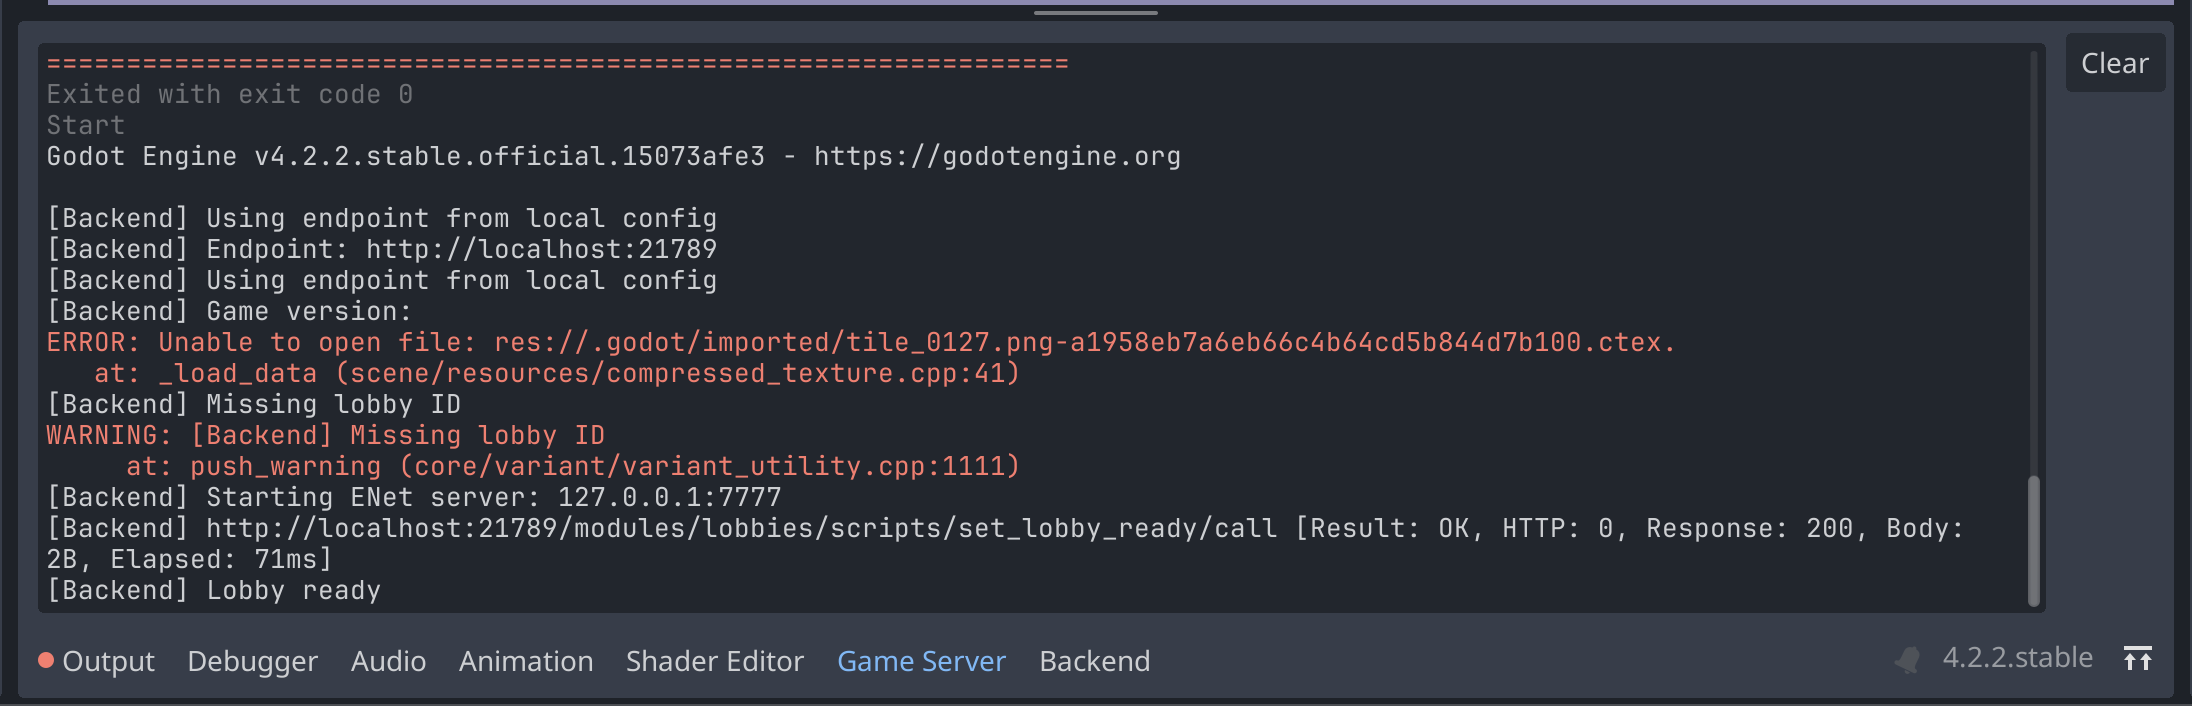
Now that the Godot server is running, we can look at the "Game Server" tab to see the logs from the game server. We can see if any issues came up from the Godot project, or connecting to the backend.
To recap this section, we've:
- Started the OpenGB backend on our local machine
- Set our environment to "Local" so that we can connect to the backend
- Started a local Godot server
- Seen the logs from the backend and game server to ensure everything is working
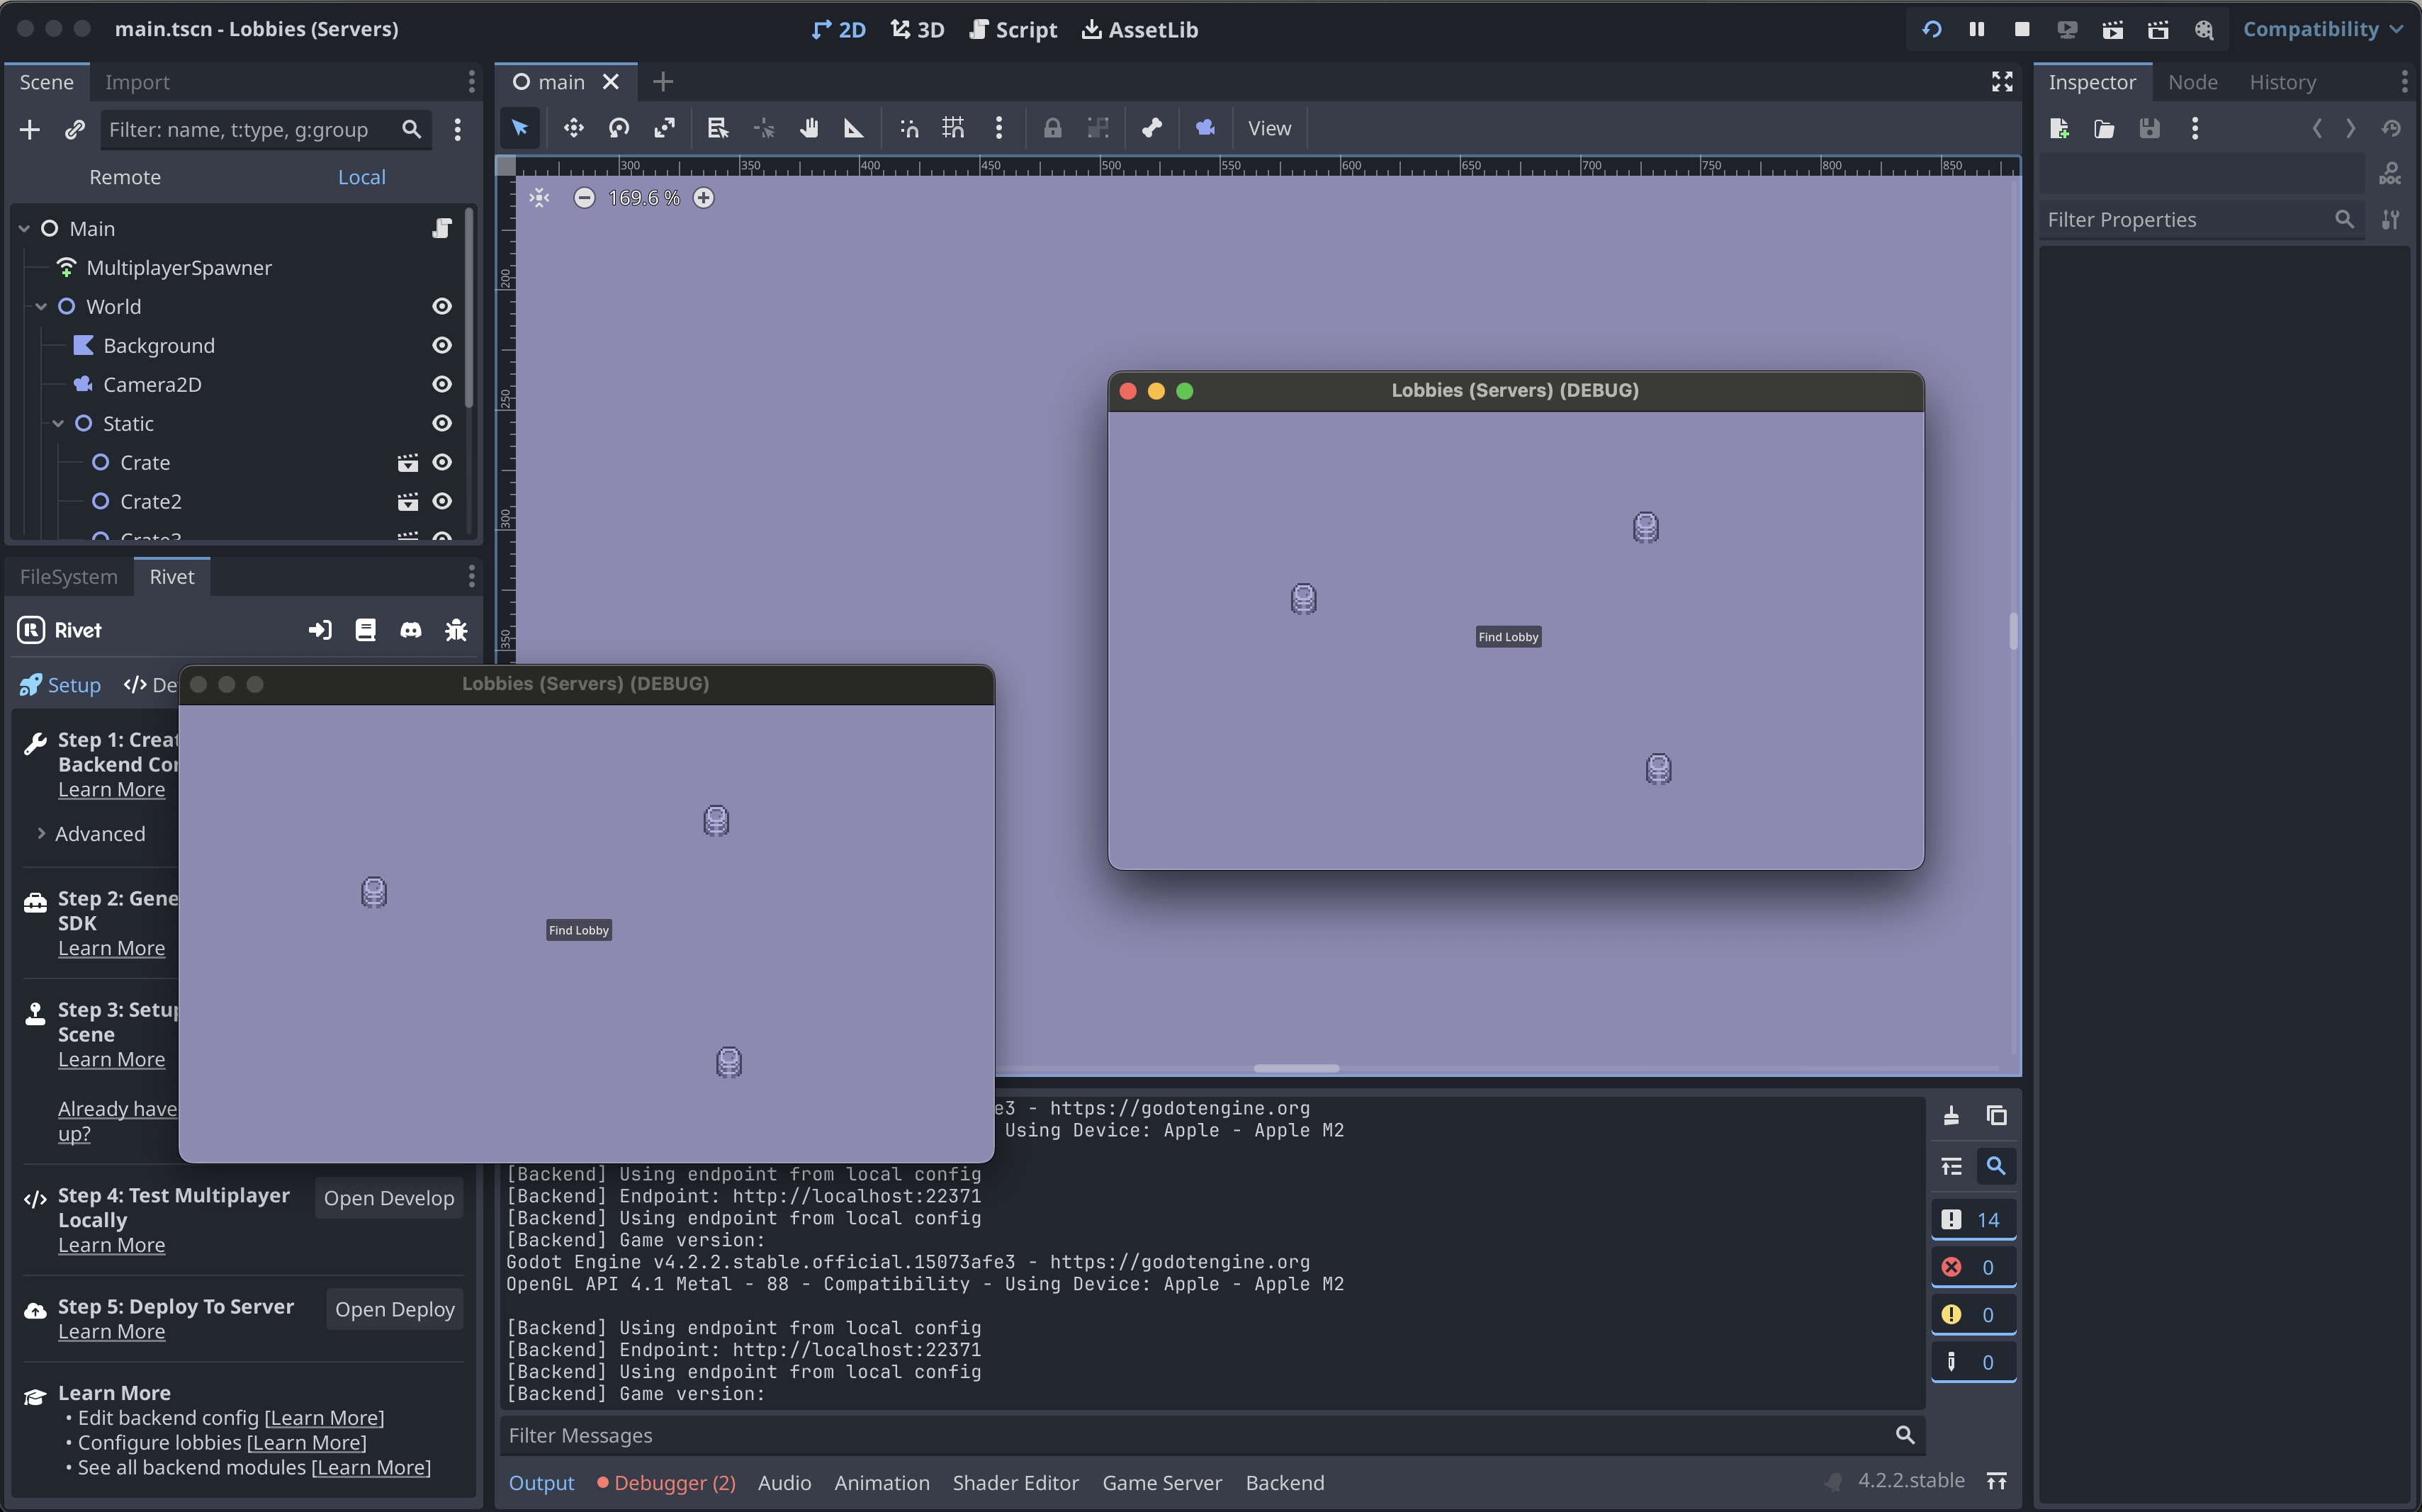
The last step after all of that is to see the game connect! In Godot, click "Debug > Run Multiple Instances" and select "Run 2 Instances". Now, after you start the game, you should have two instances of the game running that can connect to your local lobby when you click "Find Lobby".
Step 3: Deploying to Rivet
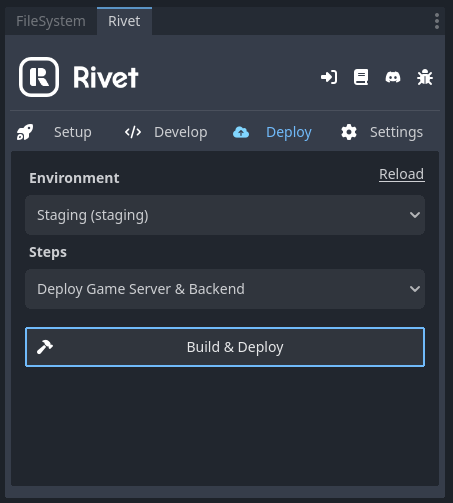
From the "Deploy" tab, select "Staging" and click "Build & Deploy".
Step 4: Test your multiplayer game
After deploying, go back to the "Develop" tab and see that the environment is set to the same environment you just deployed to (should be "Staging"). Press "Run Project" in the top right of the Godot editor. You are now connected over the internet through Rivet to your game!